Introduction
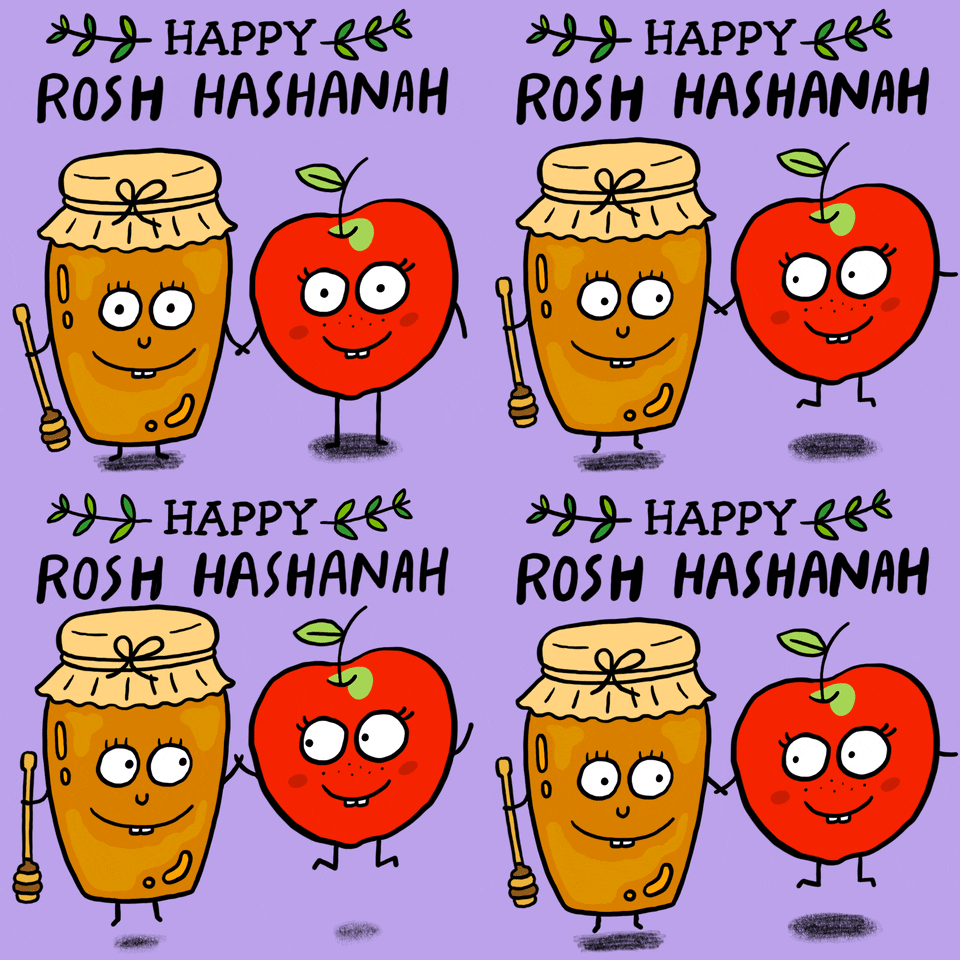
Icons and featured elements can add visual appeal and context to your blog posts.
For a 'Jewish Holidays' blog/landing page, we want to create unique and eye-catching pixelated
React nodes that capture the essence and importance of the jewish holidays for us.
import { ImagePixelated } from "react-pixelate"
import {apple,honey} from "./constants.js"
export default function App() {
return (<div style={{border:"solid", position:"relative"}}>
<div style={{position:"absolute",right:"110px",zIndex:"-5"}}>
<ImagePixelated pixelSize={5} fillTransparencyColor="white" src={honey} width={110} height={110} />
</div>
<ImagePixelated pixelSize={5} fillTransparencyColor="transparent" src={apple} width={120} height={120}  />

</div>
)
}Incorporating custom visuals can make your app stand out and provide a more immersive
experience for your readers. In this tutorial, we'll guide you through the process
of creating pixelated React nodes and use it for icons, games and hero components
step by step.
Getting Started
To begin, make sure you have a React project set up. If you don't, you can create a new one using Vite or a meta-framework of your choice.
Step 1: Install Dependencies
You'll need to install the "react-pixelate" package in order to create pixelated React nodes.
This dependency will allow you to use this library and control the pixel rate along with background centering etc.
Step 2: Create a Pixelated Component
Let's dive into the technical aspects of creating pixelated React nodes. We'll start by crafting a reusable React component for pixelation.
This code defines a React component named PixelatedShofar that renders an image of a Shofar with pixelated styling. You can adjust the width, height, and the background color along with centering to match your specific design requirements.
step 3: Using the Pixelated React Node
Now that you have your pixelation component ready, let's incorporate it into your 'Jewish Holidays' blog:
In this section, you'll integrate the PixelatedImage component into your blog post, creating pixelated icons or featured elements related to 'Jewish Holidays.' Feel free to include multiple images to make your blog visually engaging.
Game on 🕹️
Okay, I like this🤩. This game charged a lot; from handling different states using forms,data our great new library along with a different one called react-otp-input all the way to working on styling.
In the process I wasn't sure if to go with a wordle vibe or a generic web quiz vibe but while working on its logic I got a new achievment badge from github and the unique style of the badge's popover inspired my styling process.

Of course it also involved some debugging, framer-motion(If you'll complete the game you will see a button that uses this library) and many more.
I Think what that the best outcome is seeing we can reach many different results with this library and conclude it is generic enough for many many uses in our app.
This was just one way, do you have something else in mind? Please share if you have any thoughts...
Conclusion
In this blog post, we've explored the process of creating pixelated React nodes that can be used as icons or featured elements for our 'Jewish Holidays' blog. Custom visuals like these can enhance the aesthetics and storytelling of your content.
By following the steps outlined in this tutorial, you can experiment with different images, sizes, and styles to create visually appealing and captivating elements that resonate with your audience. Embrace the creative possibilities and elevate your 'Jewish Holidays' blog to new heights!


